As a professional composer, having a thorough understanding of Digital Audio Workstation (DAW) software is paramount to creating high-quality and innovative music. Studio One, developed by PreSonus, stands out as one of the most versatile and powerful DAWs in the industry. Whether you’re a novice just starting your musical journey or an experienced user seeking ways to enhance your skills, mastering Studio One is a crucial step in your creative endeavors. In this article, I’ll share some tips and tricks for both beginners and advanced users to better master Studio One.

Getting Started with a Strong Foundation
1. Learn the Interface
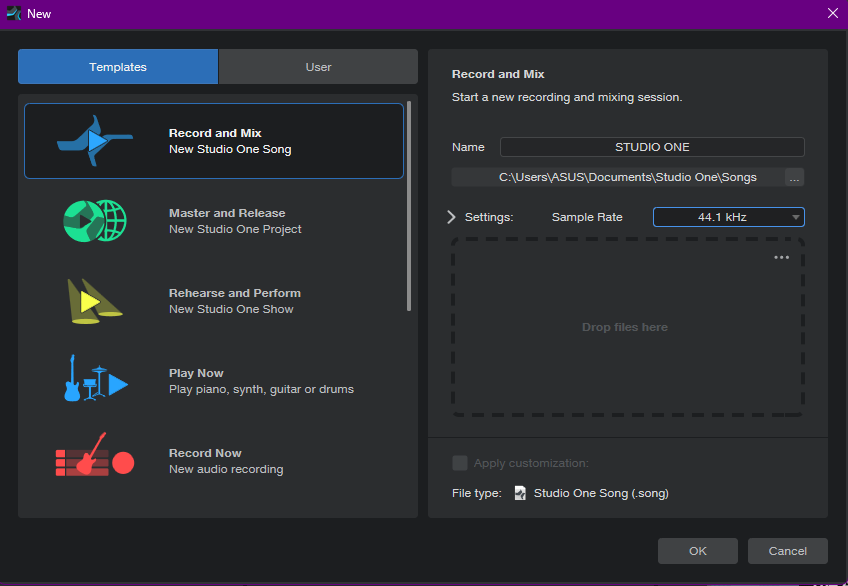
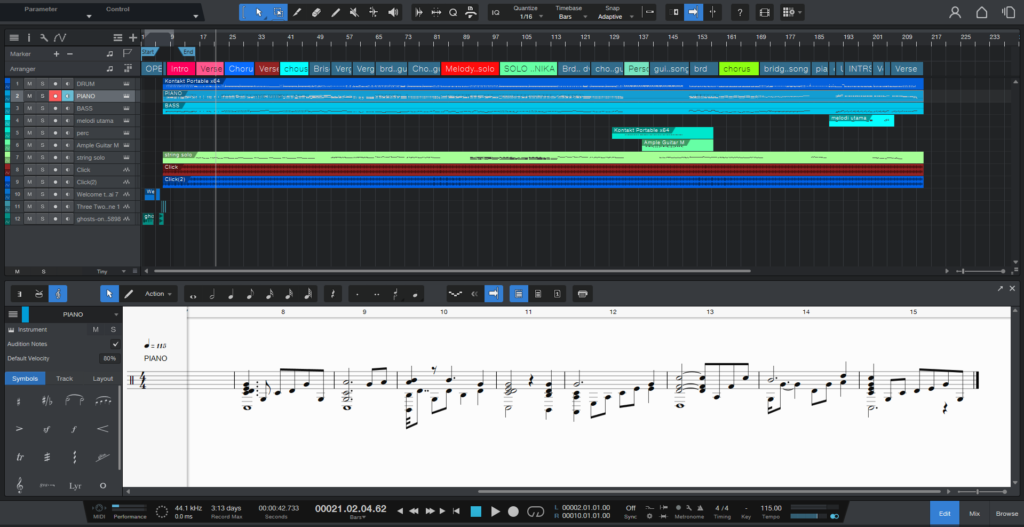
Studio One boasts an intuitive interface, but familiarizing yourself with its layout and functions is essential. Start by getting acquainted with basic settings like project setup, track configuration, and interface navigation.
2. Understand Project Organization
Understanding how Studio One organizes projects is key to working efficiently. Learn about folders, groups, and track buses to organize your project effectively.
3. Learn Keyboard Shortcuts
Using keyboard shortcuts can save time and enhance productivity significantly. Learn commonly used keyboard shortcuts in Studio One to quickly access essential functions.
Effective Editing Techniques
1. Comp Tool
Studio One features a “Comp Tool” that allows you to easily select and combine different parts from multiple recordings. Use this tool to create flawless recordings by picking the best pieces from each take.

2. Grid Editing
Grid editing enables you to place and adjust musical notes precisely with the help of a time grid. Utilize this feature to align notes, create precise loops, and edit MIDI accurately.
3. Melodyne Integration
Studio One integrates seamlessly with Melodyne, an advanced vocal editing tool. Use Melodyne to perfect your vocals by adjusting pitch and timing with precision.
Tips for Using Virtual Instruments
1. Stack Layers
When using virtual instruments, use layers to stack sounds and create more complex textures. Experiment with different sounds and settings to achieve unique results.
2. Use Automation
Employ automation to dynamically control virtual instrument parameters throughout your song’s journey. Automation can add an extra dimension to your music production and make it more dynamic.
3. Experiment with Effects
Don’t hesitate to experiment with various effects included in Studio One, such as reverb, delay, and EQ. Exploring these effects can add additional color and character to your music production.
Enhancing Studio One Performance
1. Optimize Buffer Size
Optimizing the audio buffer size in your audio interface settings can help reduce latency and improve Studio One’s responsiveness.
2. Disable Unused Effects
Disabling effects and plug-ins that are not in use in your project can help reduce CPU load and ensure optimal performance.
3. Consider Hardware Upgrades
If you frequently encounter performance issues, consider upgrading your computer hardware to improve overall Studio One performance.
Conclusion
Mastering Studio One requires practice and a deep understanding of its features and techniques. By applying the tips and tricks shared in this article, both beginners and advanced users can enhance their skills in using Studio One as their primary music production tool. Happy learning and creating!