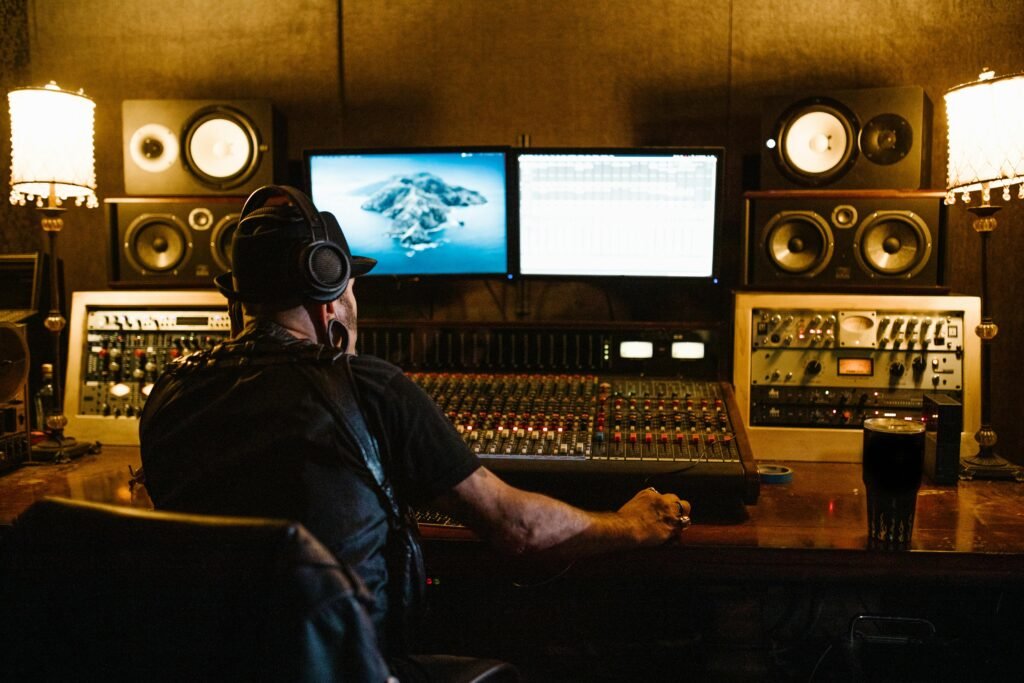
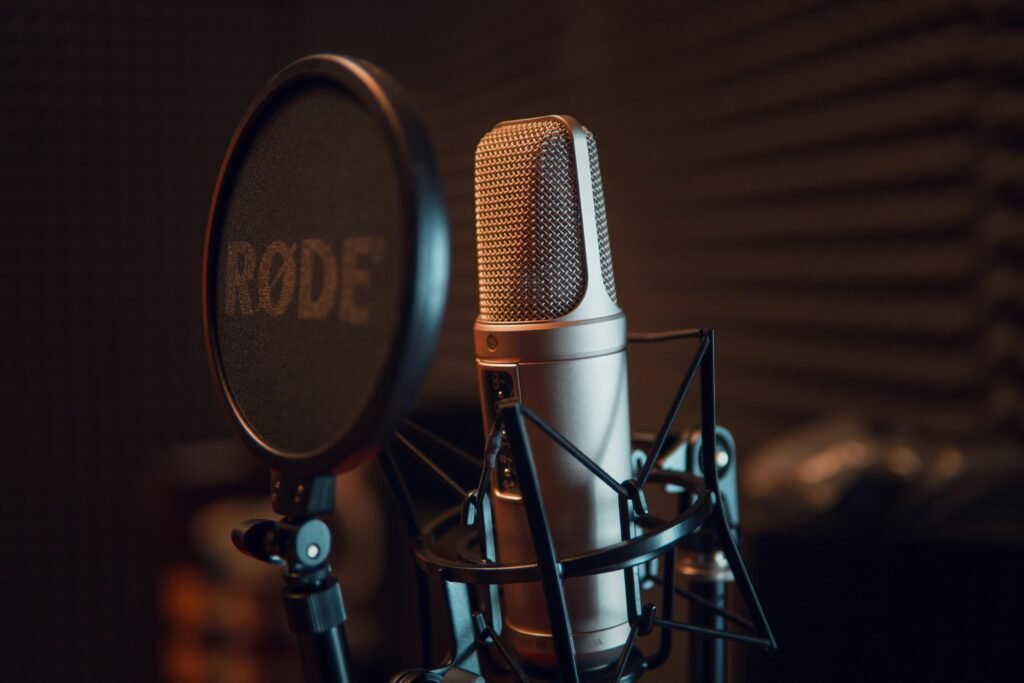
As a professional composer and music enthusiast, I understand the importance of having a well-equipped home recording studio. A home studio provides a creative sanctuary where musicians, producers, and audio engineers can bring their musical ideas to life. However, building a home recording studio requires careful planning, attention to detail, and optimization of both space and equipment. In this comprehensive guide, I will share practical steps and expert advice to help you build and optimize your home recording studio for maximum creativity and productivity.

Understanding the Importance of a Home Recording Studio
A home recording studio offers numerous benefits for musicians and producers:
- Convenience: With a home studio, you have the flexibility to work on your music at any time of day or night, without having to schedule studio sessions or commute to a commercial facility.
- Cost-Effectiveness: Building a home studio can be more cost-effective in the long run compared to renting commercial studio space. You can invest in high-quality equipment gradually, according to your budget and needs.
- Creativity and Freedom: A home studio provides a comfortable and familiar environment where you can freely experiment with sounds, arrangements, and production techniques without feeling rushed or pressured.
- Control: With your own studio, you have full control over the recording, mixing, and mastering process, allowing you to achieve the exact sound and vision you desire for your music.
Practical Steps to Build Your Home Recording Studio
1. Choose the Right Space:
Selecting the optimal location for your home studio is crucial for achieving the best sound quality and workflow. Consider the following factors when choosing a room:
- Size: Choose a room that is large enough to accommodate your equipment and provide adequate space for recording, mixing, and listening.
- Acoustics: Pay attention to the room’s acoustics and sound characteristics. Avoid rooms with excessive echo, reverberation, or background noise. Consider investing in acoustic treatment to improve sound quality and minimize unwanted reflections.
- Isolation: Select a room that offers isolation from external noise sources such as traffic, neighbors, or household appliances. Consider using soundproofing materials or techniques to reduce noise transmission and maintain a quiet recording environment.

2. Set Up Your Equipment:
Once you’ve chosen the right space for your home studio, it’s time to set up your equipment. Here’s a basic setup to get you started:
- Computer: Invest in a reliable computer with sufficient processing power and storage capacity to handle your audio recording and production software.
- Audio Interface: Choose an audio interface that meets your recording needs and budget. Make sure it has enough inputs and outputs to accommodate all your microphones, instruments, and studio monitors.
- Microphones: Select microphones suitable for your recording purposes, such as condenser mics for vocals and acoustic instruments, dynamic mics for drums and electric guitars, and ribbon mics for a vintage sound.
- Studio Monitors: Invest in a pair of high-quality studio monitors for accurate sound reproduction and critical listening. Position them properly for optimal stereo imaging and frequency response.
- Headphones: Purchase a pair of studio-quality headphones for monitoring during recording and mixing sessions. Choose closed-back headphones for tracking and open-back headphones for mixing and mastering.
- Studio Furniture: Invest in ergonomic studio furniture such as a desk, chair, and equipment racks to organize your gear and create a comfortable workspace.
3. Optimize Your Room Acoustics:
Achieving good room acoustics is essential for capturing clean recordings and making accurate mixing decisions. Here are some tips for optimizing your room acoustics:
- Use Acoustic Treatment: Install acoustic panels, bass traps, diffusers, and foam absorbers to control reflections, absorb excess sound energy, and improve the overall sound quality of your room.
- Positioning: Experiment with the placement of your studio monitors, listening position, and acoustic treatment to find the optimal configuration for your room. Use tools like room measurement software and frequency analyzers to identify problem areas and make informed adjustments.
- Monitor Placement: Position your studio monitors at ear level and equidistant from your listening position to achieve proper stereo imaging and balance. Avoid placing monitors too close to walls or corners, as this can cause bass buildup and coloration.
4. Invest in Essential Studio Equipment:
In addition to the basic setup mentioned above, consider investing in the following essential studio equipment to enhance your recording and production capabilities:
- MIDI Controller: Purchase a MIDI keyboard or controller for playing virtual instruments, triggering samples, and programming MIDI sequences in your DAW.
- Outboard Gear: Consider adding outboard gear such as preamps, compressors, equalizers, and effects processors to color your recordings and add analog warmth and character to your sound.
- Instrumentation: Invest in musical instruments and accessories such as guitars, keyboards, drum machines, and percussion instruments to expand your sonic palette and inspire creativity.
- Cables and Accessories: Stock up on high-quality audio cables, microphone stands, pop filters, and other accessories to ensure reliable connectivity and smooth workflow in your studio.
5. Continuously Improve and Upgrade:
Building a home recording studio is an ongoing process of learning, experimentation, and refinement. Continuously seek opportunities to improve your skills, expand your knowledge, and upgrade your equipment to stay current with the latest advancements in audio technology and production techniques.
Conclusion
In conclusion, building a home recording studio requires careful planning, attention to detail, and a commitment to creating an optimal environment for capturing and producing music. By following the practical steps outlined in this guide and investing in the right equipment, acoustics, and workflow solutions, you can create a home studio that inspires creativity, facilitates productivity, and enables you to realize your musical vision to its fullest potential. Whether you’re a seasoned professional or an aspiring musician, a well-equipped and well-designed home recording studio is an invaluable asset that empowers you to bring your musical ideas to life with precision, clarity, and artistic expression.